Knowing how to ship to Amazon FBA is crucial as an Amazon seller. But sending FBA shipments to Amazon shouldn’t be hard. That’s where the Send to Amazon workflow comes in: the whole process may get problematic without using Send to Amazon, but if you know how to do it, the shipping process is actually quite simple.
Find out the whats and hows of Amazon FBA shipping in this article.
Replenishing your FBA inventory becomes easy when you use the Send to Amazon service. This is a shipment creation workflow for sellers utilizing the Fulfillment by Amazon (FBA) program.
This lets you tick off items in your Amazon FBA shipment checklist quickly, letting you manage FBA shipments with ease. Specifically, this workflow will let you process the transport of your goods to any Amazon Fulfillment Center easily.
Check out these benefits of using Send to Amazon for Amazon FBA sellers.
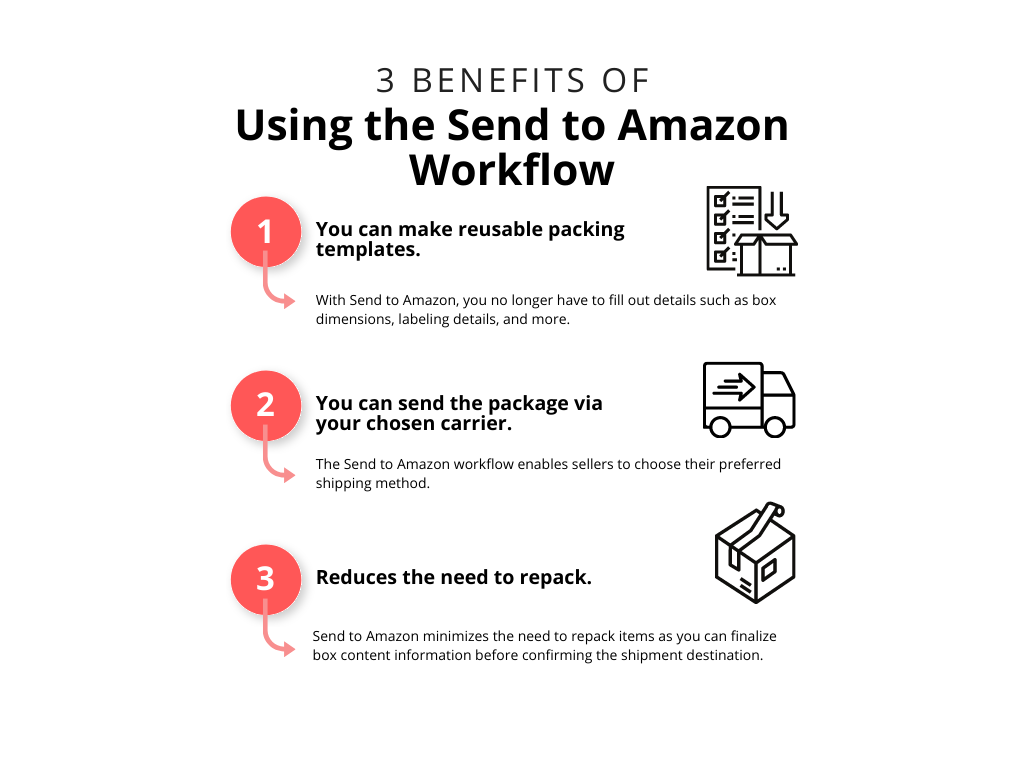
You Can Make Reusable Packing Templates
With Send to Amazon, you can save and reuse shipping details such as box content information, box dimensions, and labeling details for shipments of single Stock Keeping Unit (SKU) boxes.
Once you’ve made a template, you can use it repeatedly, so you no longer have to fill out the details every time.
You Can Send the Package via Your Chosen Carrier
You can choose from two shipping methods: Small Parcel Delivery or Less Than Truckload delivery using pallets. You can also choose an Amazon-partnered carrier for lower shipping rates. The Send to Amazon workflow includes the purchase and printing of shipping labels.
Reduces the Need To Repack
Send to Amazon allows you to pack your box and update quantities as you pack. You can also finalize box content information before confirming the shipment destination. This minimizes the need for you to repack during the placement stage.
How To Access the Send to Amazon Workflow
So, how do you ship inventory to Amazon without the hassle? Access Send to Amazon via this easy-to-follow step-by-step process below.
Log in to your Amazon seller account on Seller Central.
Hover over Inventory, then click FBA Inventory.
Go to the top menu, choose Shipments, and click Send to Amazon.
You will then be directed to the Send to Amazon page.
How To Create Shipments With the Send to Amazon Workflow
Once you click on Send to Amazon, you must start completing the Amazon shipping process details. Do it in a snap by following these simple steps.
Select the inventory you want to send.
The first step to creating a shipping plan is to choose the FBA inventory you want to send. Here are the details you’ll need:
Choose the address where your shipment will be coming from.
Type in the packing details for each box you intend to send to Amazon FBA warehouses.
Verify the correctness of the information you have just typed in by clicking Confirm before clicking Continue.
If you choose to pack individual units, you’ll have to enter the packing details separately. Decide if you’ll fit everything in one box or need multiple boxes.
Confirm shipping.
Confirming your shipping details is the next stage of creating a shipping plan on Amazon. If you don’t know what these details are yet, see the following:
Shipping Date: Choose the date when your products will be shipped out. If your shipment date turns out to be different from that which you have typed in while confirming the details of your shipment, inform Amazon about it. After letting them know that the products are en route, give them tracking IDs for your shipment. This way, they can be ready ahead of time to receive them. To share the IDs:
Proceed to the shipping queue and look for every shipment ID.
Choose the shipment and locate the Track Shipment tab.
After finding the tab, type in the IDs.
Shipping Method: You can choose from Small Parcel Delivery (SPD) or Less Than Truckload (LTT). SPD is best for small shipments such as those in individual boxes. LTT, on the other hand, is recommended for large shipments, such as those packed onto pallets.
Delivery Window: This is the 14-day date range that you expect your shipment to arrive at Amazon’s Fulfillment Center.
Shipping Service/Carrier: Choose between an Amazon-partnered carrier or a non-partnered carrier. Amazon’s partnered carriers are often more affordable than non-partnered ones. Plus, it’s hassle-free, as your payment will be processed directly through your Amazon balance.
3. Print labels.
This is the last step to creating your Amazon FBA shipping plan. This process involves downloading the shipping labels for the boxes and pallets you will send.
Verify your carrier and pallet shipment information.
Print pallet and box labels.
Apply two box labels on each side of the shipping box.
4. Bonus: Enter tracking details.
Did you choose a non-Amazon-partnered carrier for your shipment? Then, you must enter the tracking details before it arrives at Amazon’s Fulfillment Center. Note that if you choose a non-Amazon partnered carrier, the tracking details may not be available when you create an Amazon FBA shipping plan.
Ensure you get your freight forwarder’s tracking details and update them accordingly. A freight forwarder oversees the transport of your products.
How To Make a Packing Template
Before you start sending any SKU to Amazon, you need to make your packing templates. Providing Amazon with accurate box content information allows the platform to ship out your products quickly so your customers can receive them sooner.
Click on the button that says Create Case Pack Template.
The packing template system automatically retains the info when you input the data (preparing the label and packing the SKU).
For every unit, type in the prep and labeling data.
If Amazon has stored the prep type data, you no longer have to type anything. The system fills it out immediately.
Classify your SKU’s required prep.
Do it without fuss by clicking on the button that will show you a drop-down menu. Next, choose the option that fits your SKU. Does your SKU need prep? If no, then click on No Prep Needed.
Otherwise, you must clarify with Amazon if you intend to take charge of the overall prepping for every unit.
Go back to the name field for the packing template, and title it accordingly.
Each SKU can have as many as three packing templates. Name every template for easy identification purposes. Review the details carefully to ensure that all fields are covered and correct.
Click Save.
Upon saving, you’ll immediately go back to the start page. You can now preview the details of the packing template you created by this time.
How To Print Box Labels
After knowing how to create packing templates, you also have to know how to print shipping labels. To do this, you have to:
Click on Create a Case Pack Template.
Fill in the packing details.
Click Save.
Click the pencil icon beside Packing Details to edit the existing case pack template.
After making your changes, click Save.
To delete a packing template, click Delete Packing Template.
How To Manage FBA Inventory
Aside from knowing how to prep, pack, and send shipments, it will also be helpful for Amazon sellers like you to know how to manage your Amazon FBA inventory. Fortunately, it’s easy to manage inventory with the Amazon FBA program.
Check out the step-by-step process below:
Select the menu icon in the top-left corner of your Amazon Seller Central account.
Hover over Inventory and choose the Manage FBA Inventory option.
On the Manage FBA Inventory page, you’ll see reports that can help you maintain a balanced inventory level, prevent long-term storage fees, and keep your most popular products in stock.
Final Thoughts
Amazon FBA is not a free service and comes with fulfillment fees on top of shipping costs. However, Amazon sellers may be eligible for reimbursement of shipping costs incurred if they use multi-fulfillment centers.
They will also benefit from other incentives such as Amazon Prime Two-Day free shipping, dedicated customer service, and more. Above all, Amazon FBA makes the shipping process easier.
If you still need help shipping your products to Amazon’s Fulfillment Centers and all things on Amazon FBA, we’ve got you. Seller Interactive offers an Amazon Wholesale Partnership Program to help beginner sellers like you with the ins and outs of selling on Amazon, including inventory and logistics management. Ready to create a hassle-free experience on Amazon FBA? Contact us today.
Go from surviving to thriving on Amazon.
Use the power and influence of advertising to increase sales. Learn more about how you can benefit from our management expertise.
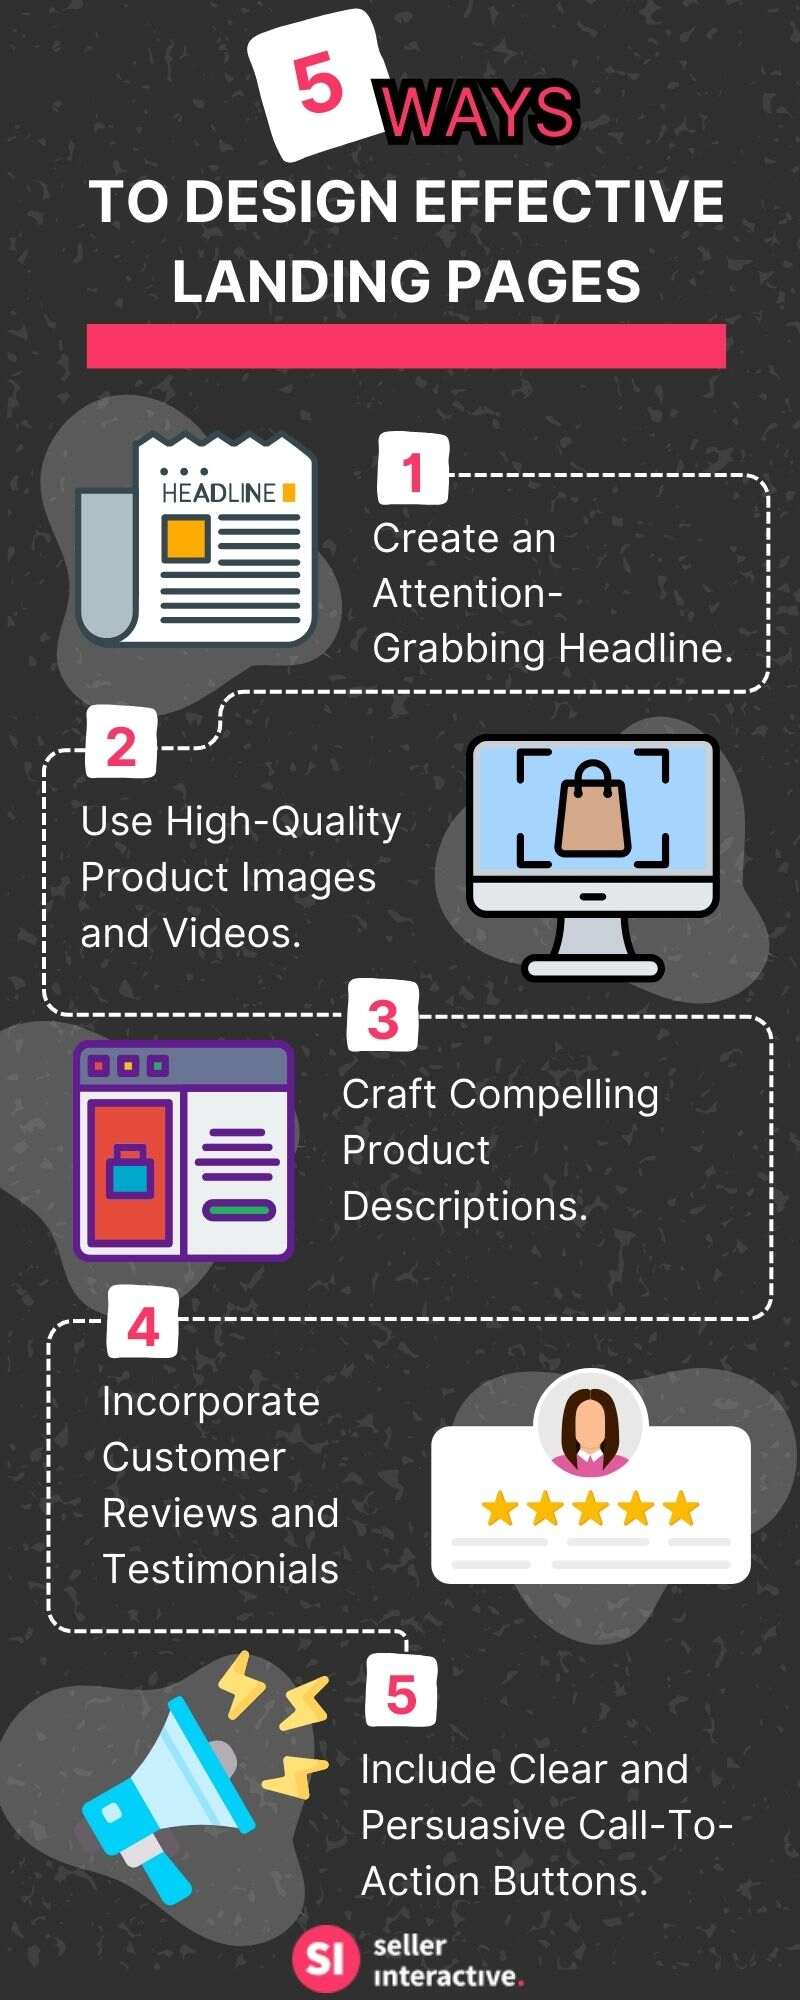
Last updated on December 18th, 2023 Written by faith For Amazon sellers, having a strong marketing strategy is crucial for boosting sales. Having a landing page for Amazon products is a strategy many successful sellers apply, and you can also do. This article will explain what a landing page is and how it can make […]
Last updated on December 13th, 2023 Written by faith The Amazon Best Seller Rank (BSR) is a crucial metric sellers like you should understand to maximize your success on the platform. This ranking system reflects a product's popularity and sales performance against other products in the same category. By grasping the intricacies of BSR, you […]
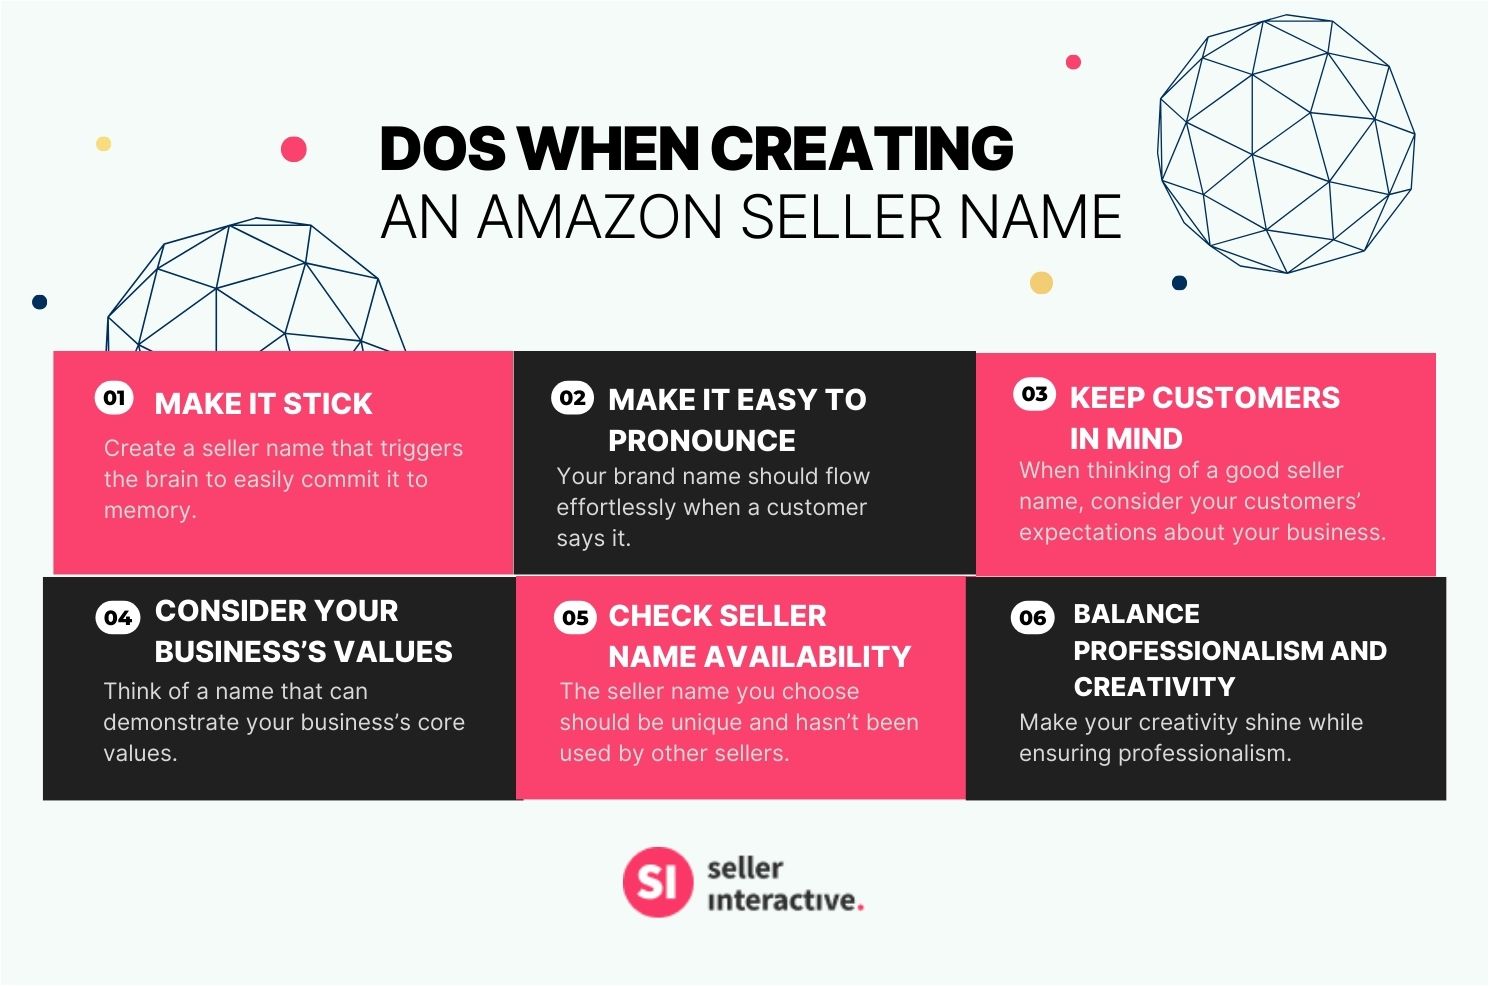
Last updated on December 11th, 2023 Written by faith In a bustling marketplace like Amazon, every aspect of your online presence matters, and thoughtfully chosen Amazon seller names can be one of the first steps toward building a solid brand. However, coming up with an Amazon seller name is considered trivial for most sellers. They […]
Become a better seller
Subscribe to SellerBites for our weekly FBA newsletter and get the latest Amazon news, updates, trends, and insights.
Increase your seller knowledge and advance your business on Amazon today.
Information on Seller Central updates
Trending seller topics and discussions
Actionable strategies and guides to selling on Amazon


 Written by